[How] Flash: Seek() & PlayHeadTime() Accuracy

Using seek() and PlayHeadTime() with FLVPlayback component of video files in Flash can be quite inaccurate. We had the same problem when we were building a prototype for our project, which involved switching and syncing of videos using specific timing. PlayHeadTime gave a decimal value, but whenever we would do a seek() using the PlayHeadTime value on a video, the timing would be off by 0.5-1 second.
Apparently, the accuracy of the seek() function is dependent on the keyFrameInterval of the video and the FPS meaning Precision = keyFrameInterval / FPS.
So for example, if you have a keyFrameInterval = 30 (1st frame will be a keyframe, 30th frame will be a keyframe, 60th frame ... etc.) and FPS is set on 15, you'll only be able to seek in 2-seconds intervals of time (precision = 30 / 15).
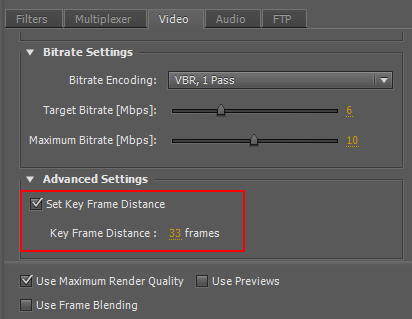
To make the seeking more accurate, set the key frame distance when exporting your video with Adobe Premiere. This option can be found in the "video" tab, "Advanced Settings", check "Set Key Frame Distance" and set the key frame distance lower. Export it and now your seek() accuracy would be more precise!

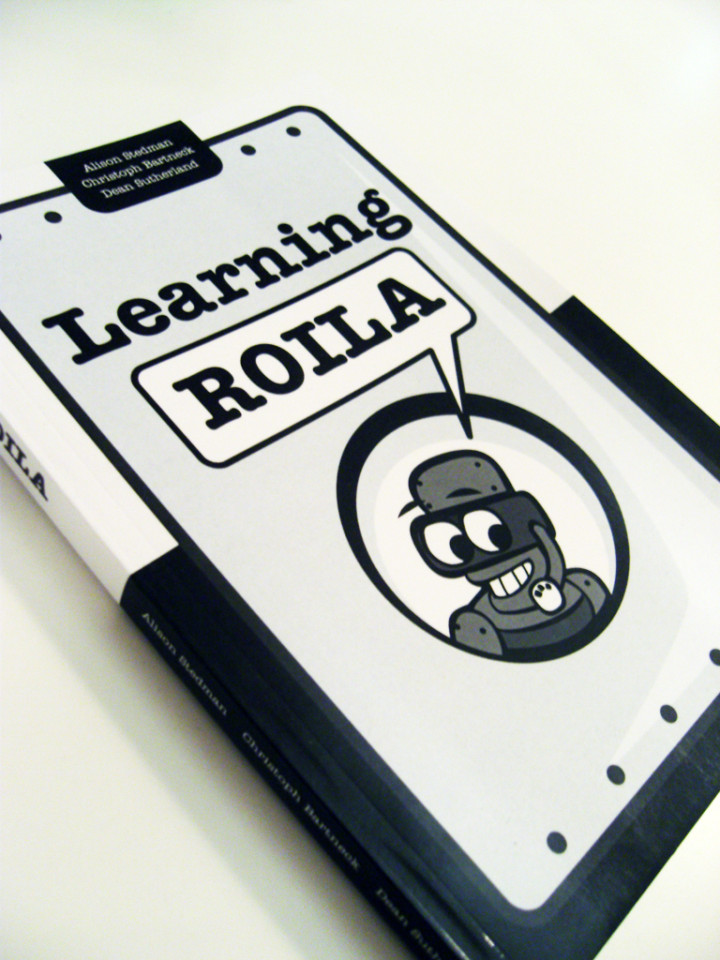
Learning ROILA

The RObot Interaction Language (ROILA) is a new spoken language that is optimized for the communication between machines and humans. It is extremely easy to learn for humans and it is simple for machines to recognize. The goal of this book is to support humans learning ROILA.
I was hired by ROILA to design the layout and illustrations for the book. The illustrations made for the book are black and white vector based images for high quality printing. The layout is entirely created in InDesign with design specifications to allow both print and epub publications. Currently, Learning ROILA is available as a paperback or Kindle version on Amazon.com, or as an EPUB from Lulu.
Visit the ROILA website for more information on the RObot Interaction Language.


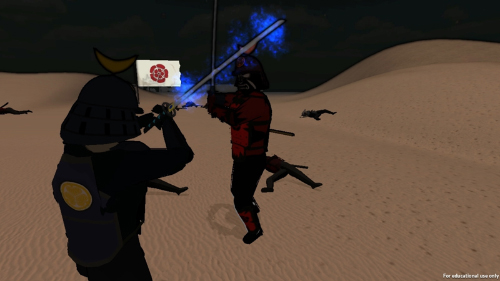
Ryusei In-Game
Ryusei
--------------------------
Round 4 Storytelling ~ 3 Weeks Project
Building Virtual Worlds, Fall 2011
Entertainment Technology Center
Carnegie Mellon University
In-game footage only, game play footage will follow shortly!
--------Team--------
Weiwei Huo ~ Producer & Programmer
Liu Xiyuan ~ Lead Programmer
Mohan Subramanian ~ 3D Modeler & Animator
Elwin Lee ~ Texture Artist & 2D Animator
Anthony Hildebrand - Sound Design & Script
--------Voice-Overs--------
Björn Ahlstedt ~ Main Character
Eric Hamel ~ Ryusei
Avi Chetlin ~ Shogun's Son
Diane Turnshek ~ Narrator
--------Special Thanks--------
Jason Baxter
Chris Klug
Brian Lee
Scott Chen

[How-to-Fix] Working with InDesign to export ePub

I started working on an eBook with InDesign a few weeks back. InDesign has an option to export your document to an ePub file which can be used for eBook readers. If you don't have a reader to test it on, you can download the Adobe Digital Editions on your computer for free! Or even better... Use Calibre to manage your ebooks or test your epubs on virtual devices!
Anyway, exporting to ePub is quite easy, but you need to pay attention to how you format your documents. For example, page layouts are different, page breaks and returns aren't included, fonts paragraph/character styles, etc. I found a very nice guide from CreativePro, which explains these problems and gives you solutions on how to fix it :D
Indesign ePub Guide Part 1 | Part 2
The most annoying thing however, is that InDesign (CS5.5) doesn't export your table styles. The guide suggests manually editing the CSS file after exporting, which is a pain in the ass. To do this, export your document to ePub. Rename your file from .epub to .zip. Open the file and locate the CSS file.
It's a drag... but it's the only solution that I could find on the web until Adobe fixes this in the new CS version.


LEGO Minifigure Catalog Released!
The book went through several checks and has finally been approved and is now available for purchase at CreateSpace and later this month on Amazon.com! You can also download the catalog as an eBook from Lulu.

This catalog presents high quality photographs of all LEGO® Minifigures released between 1970s and 2010. The 3600 plus Minifigures® are organized by an innovative nomenclature that makes it easy to identify Minifigures®. Several indexes make it even easier to find Minifigures®, the sets in which they appeared and what heads belong to which Minifigure®. This catalog is the essential guide for all Minifigure® collectors and enthusiasts.
Visit the website for more information.

The Unofficial LEGO Minifigure Catalog
The LEGO Minifigure Catalog promotion video that I was making is up and running! The purpose of the video is to show how extensive the book actually is with over 3600 minifigure photographs with professional quality, interconnected metadata and theme taxonomy.
My contribution to the book was helping out with the design of the book, editing and processing a lot of data and pictures; scaling, cropping, color correction, etc. And after processing over 1000 photos all the figures started looking the same, especially when I was cropping out the heads for the head-index of the book.
Anyway, the book itself will be available soon, but in the meantime the book is available now! Visit http://www.minifigure.org/ to find out where to buy it! :D
http://www.youtube.com/watch?v=2VLRDt2JlLk
Away3D - Outlining Hotspot on 3D Plane Image
[swfobj src="http://elwinlee.com/flash/outline/TestImageOutline.swf" width="546" height="400"]
I'm learning Away3D at the moment instead of PaperVision3D for a project at the HITLab. PaperVision is kind of outdated and the latest version was causing trouble for creating interactive panoramas.
In the example above;
- Rotate the view by clicking the background and drag the mouse.
- The bidoof is the hotspot and will change color when pressed.
- Outline moves along the z-axi when tilted to show the 2 separate layers (background & hotspot).
The idea behind this is to create an actual outline of the hotspot on the panorama picture instead having an image (e.g. arrow) overlapping the background image to indicate a hotspot.
To achieve this, I placed 2 planes; background and hotspot, on top of each other. The hotspot image is a cutout of the background image with a transparent background. The images are then mapped onto the planes and placed on top of each other accordingly. Flash ignores the transparency in the hotspot image, so placing the image on a plane wouldn't effect the image.
Next apply a "GlowFilter" to the hotspot image, set the strength to a high value and set Knockout = true, to create an outline. The hotspot object might disappear when moving the camera around. To fix this, move the object slightly in front of the background, e.g. value of "0.5", which won't be visible to the viewer anyway. And set the "pushback" and "pushfront" accordingly (this saved my day!). Compile the file and tada! :D
background = new Plane( {material: BackgroundImage, width: 800, height: 600 } );
background.rotationX = -90;
background.rotationZ = 180;
background.ownCanvas = true;
background.pushback = true;
view.scene.addChild(background);

var objectGlow:GlowFilter = new GlowFilter(0xff1616, 1, 8, 8, 20, 1, false, true);
object = new Plane( { material: ObjectImage, width: 250, height: 250 } );
object.x = -158;
object.y = -65;
object.z = 0.5;
object.rotationX = -90;
object.rotationZ = 180;
object.ownCanvas = true;
object.filters = [objectGlow];
object.useHandCursor = true;
object.pushfront = true;
view.scene.addChild(object);
Project Blender - Day4: Eye for an Eye

Blender weekend has ended! :( Did the Eyeball Tutorial from Blender Cookie and extended the image by placing more eyeballs in different colors. Next to Blendering, I went and bought some lamb at the Countdown (20% DISCOUNT!!!) and made some lunch; Lamb with oil, salt, pepper and fresh rosemary cooked in a 160C oven for 15-20 minutes :333

Ok time for bed! It's 2.32AM and tomorrow is Monday, which means back to the lab. Also I'm going to start learning Papervision 3D soon for the chemical processing project :D
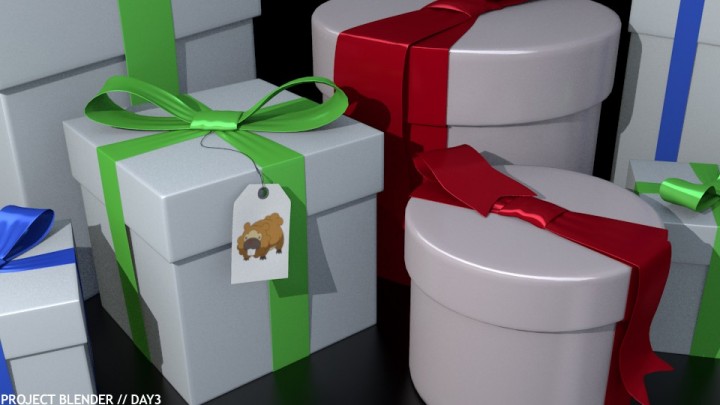
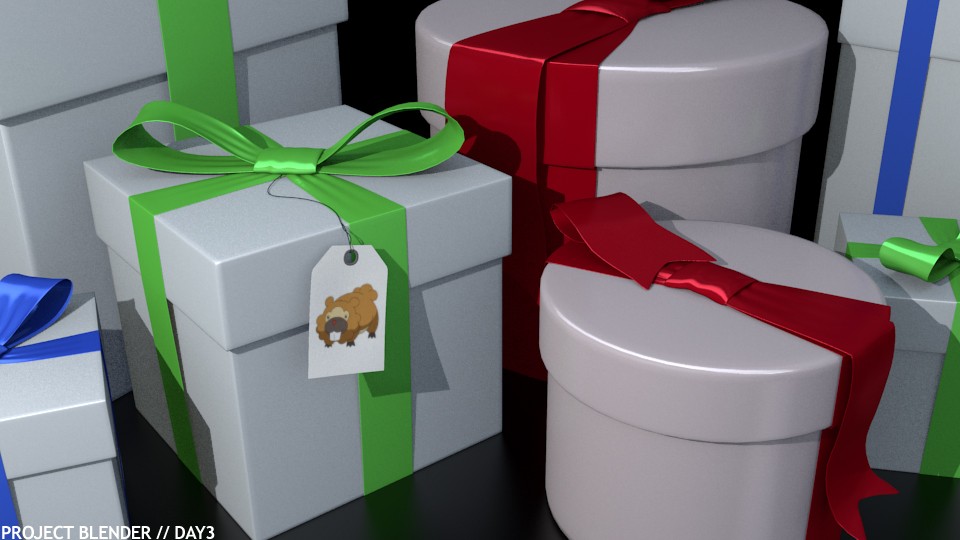
Project Blender - Day3: My Gift to You
It was very rainy today in New Zealand, so I played some more with Blender and followed the Creating a Present Tutorial from Blender Cookie. I'm getting more familiar with the interface and modeling objects, and I added a rounded present box to the picture for fun :D And since it was such a bad day, I'm handing out gifts to all of you!!